Eclipse is an open source community of tools, projects and collaborative working groups. One of the most widely used tools from Eclipse, is the Eclipse IDE (Integrated Development Environment). Eclipse is a software that allows you to write your programs and test scripts in multiple programming languages (with Java being the most popular one).
Since we are using Java as our main programming language for all our Selenium Webdriver and Appium Tutorials, hence we will mostly use this IDE to write all our test scripts. This article will provide you with a step by step guide on how you can download and setup Eclipse for Java.
Download Eclipse IDE
Perform the steps given below to download the latest version of Eclipse IDE (As of February 2023, Eclipse 2022-12-R is the latest Eclipse Enterprise Edition).
1. Open this link – https://www.eclipse.org/downloads/packages/
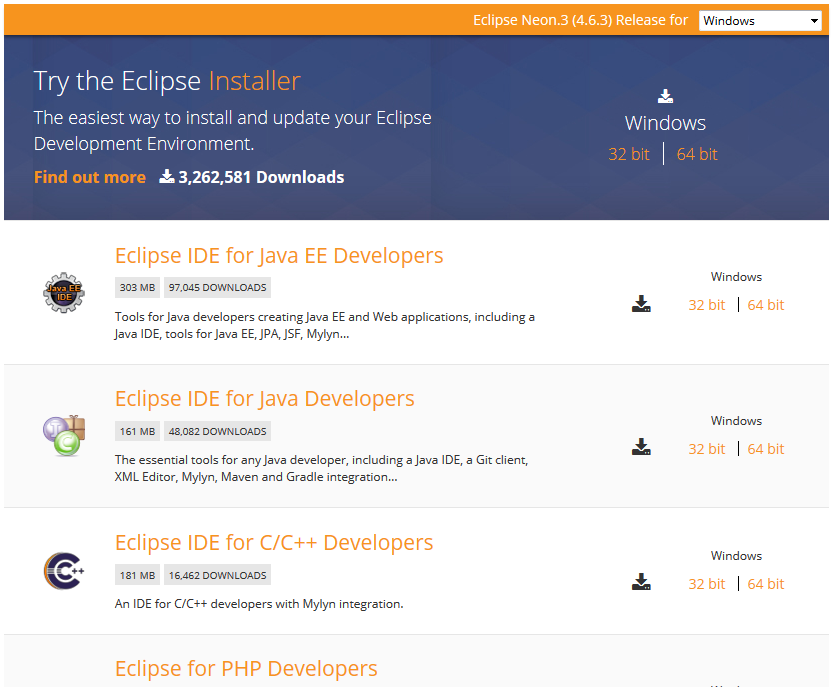
2. This link lists down latest Eclipse IDE versions for different programming languages. We are interested in Eclipse IDE for Enterprise Java and Web Developers
3. Click on x86_64 link next to Windows to download Eclipse
4. Once you click on the link, you will be navigated to the download page as shown below. Click on Download button to start the download process.
5. Eclipse IDE would start downloading.
With this, we complete the process of downloading Eclipse IDE for Java. Let’s now have a look at how to set it up.
Install/Setup Eclipse IDE
Unlike a lot of software tools, Eclipse doesn’t need to be installed. Once you unzip it, you can start using it directly. Let us see how this is done –
1. Go to the folder where you had downloaded Eclipse and locate the Eclipse zip file
2. Right click on the Zip file and unzip it.
3. After unzipping the zip file, you will get eclipse folder. Open this eclipse folder, it would have contents similar to what is shown in the below image
4. Double click on eclipse.exe file to open the IDE. Once it starts, it would ask you to select a workspace directory. In eclipse, workspace is the directory where all your projects would be saved.
5. Leave the default folder path as it is and click on OK button. Eclipse would open the IDE and you would see the Welcome tab as shown below
With this, we have completed the process of downloading and setup of Eclipse IDE. Try installing it and let us know if you face any issues with the download and setup process. If you have any feedback, then please share it with us using the comments section or our Facebook page.
Need older version of Eclipse?
Sometimes it might happen that you start using the latest version of the IDE, and you feel that Eclipse is bit slow to use. There are good chances of this happening if you are using older computers or laptops. In such cases, you might want to use older versions of the Eclipse, so that its not too heavy on your machine. There are not many differences with older versions especially when you want to use it only for automation scripting purpose.
You can find older versions of Eclipse on this link – https://www.eclipse.org/downloads/packages/release. I have myself used Eclipse versions that are 2 years older and have not found any issues with them. Just open the link of Eclipse version you want to use. The process of downloading & setup of Eclipse is the same that we have mentioned in this article.
